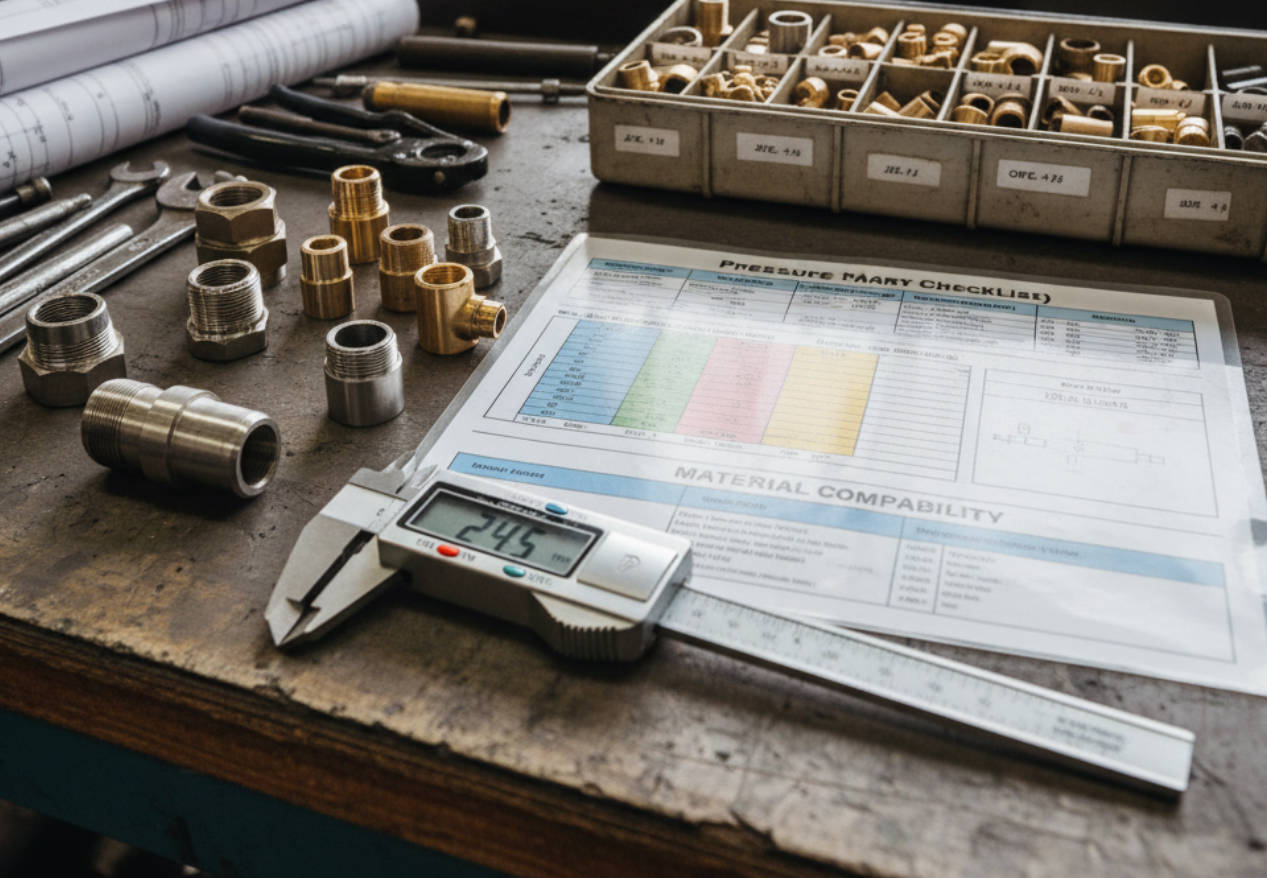
magine your engineering team needs a complex metal prototype for a new fluid power system, but the budget for steel tooling is exorbitant and the lead time is months away. This common scenario stifles innovation and leaves project managers scrambling for alternatives that do not sacrifice surface quality or dimensional precision. Plaster casting offers a robust solution to this problem, providing near-die-cast finishes and tight tolerances at a fraction of the cost, making it the ideal method for creating a specialized hydraulic fitting .
What Is Plaster Casting?
Plaster casting is a manufacturing process that uses a gypsum-based plaster mixture to form a mold, allowing for the production of metal parts with exceptionally smooth surfaces and intricate details. Unlike sand casting, which uses granular sand, the plaster slurry creates a dense, fine-grained mold that replicates the master pattern with high fidelity.
The Core Concept
Here’s the deal: The process is effectively a refinement of sand casting but substitutes the mold material to achieve superior results.
- Material: Uses a slurry of gypsum, strengthening agents, and water.
- Finish: Produces a surface roughness as low as 32 RMS.
- Permeability: Plaster has low permeability, requiring specific processing steps like foaming or vacuuming.
Why Manufacturers Choose It
You might be wondering why this specific method is chosen over others for precision parts.
- Cost Efficiency: Tooling is significantly cheaper than permanent metal molds.
- Detail: Capable of casting thin walls and fine lettering.
- Speed: Faster turnaround for prototypes compared to hard tooling.
Key Takeaway
Plaster casting bridges the gap between rough sand casting and expensive die casting.
| Feature | Plaster Casting | Sand Casting | |
|---|---|---|---|
| Surface Finish | Smooth (32-125 RMS) | Rough (250-500 RMS) | |
| Detailing | High | Low | |
| Tooling Cost | Low/Medium | Low | |
| Lead Time | Weeks | Days/Weeks |
This method is the go-to choice for low-volume production where quality cannot be compromised.
How Does the Process Start?
The process begins with the creation of a master pattern, which is a physical replica of the final part used to create the negative space within the mold. For manufacturers needing custom solutions , this step is critical as the pattern determines the dimensional accuracy of the final component.
Pattern Materials
Let’s dive in: The pattern must be durable enough to withstand the liquid plaster slurry without warping.
- Metal: Aluminum or brass patterns offer the best durability and surface finish.
- Plastic: High-density urethane or epoxy can be used for shorter runs.
- Wood: Rarely used directly due to moisture absorption from the plaster.
Design Considerations
But here’s the kicker: You must account for physics when designing these patterns.
- Shrinkage: Patterns are scaled up (typically 1-2%) to compensate for metal contraction.
- Draft Angles: Slight tapers are needed to remove the pattern from the mold.
- Parting Lines: Strategic placement ensures the mold separates cleanly.
Key Takeaway
A high-quality master pattern is the foundation of a successful casting run.
| Material | Durability | Cost | Suitability | |
|---|---|---|---|---|
| Aluminum | High | Medium | Long runs, high precision | |
| Epoxy | Medium | Low | Prototyping | |
| Brass | Very High | High | Complex details |
Investing in a precise pattern saves significant time and money during the finishing stages.
How Is the Plaster Mold Prepared?
The mold is prepared by mixing a gypsum plaster slurry with specific additives like talc or silica flour to improve strength and control setting time. This mixture is then poured over the master pattern contained within a flask to capture every minute detail of the geometry.
The Slurry Mix
Think about it: This isn’t just store-bought plaster; it is an engineered chemical mixture.
- Gypsum: The binder that forms the hard mold structure.
- Strengtheners: Fibers or chemical additives prevent cracking.
- Foaming Agents: Sometimes added to increase permeability and gas escape.
Pouring the Mold
What’s the real story? The pouring technique dictates the surface quality.
- Vibration: The flask is vibrated to release trapped air bubbles.
- Vacuuming: The slurry may be vacuumed to ensure it fills deep crevices.
- Setting: The mold sits for a short period to harden before pattern removal.
Key Takeaway
The preparation phase defines the texture and integrity of the final metal part.
| Component | Function | Importance | |
|---|---|---|---|
| Gypsum | Base structure | Critical | |
| Talc | Smoothness | High | |
| Water | Activation | Critical (ratio matters) |
Proper mixing and pouring eliminate common defects like air pockets and rough surfaces.
What Is the Drying and Baking Phase?
Once the plaster has set and the pattern is removed, the mold must be baked in an oven to remove all traces of moisture. This step is vital for quality control because any remaining water will turn into steam when molten metal is poured, causing the mold to explode or the part to have porosity defects.
Vacuum Assistance
Here is the secret sauce: Standard plaster is not naturally permeable to gas.
- Permeability Issue: Plaster is dense, trapping gases during the pour.
- Solution: Baking creates a network of microscopic voids.
- Vacuum: Often, the casting process itself is done under vacuum to pull metal in.
Baking Cycles
You have to get this right: The mold cannot simply be blasted with heat.
- Ramping: Temperature is raised slowly to prevent thermal shock.
- Duration: Molds may bake for 10 to 20 hours depending on size.
- Temp Range: Typically between 250°F and 500°F (120°C – 260°C).
Key Takeaway
Moisture is the enemy of a safe and successful plaster casting.
| Phase | Temp Range | Duration | Goal | |
|---|---|---|---|---|
| Air Dry | Ambient | 1-2 Hours | Initial set | |
| Low Bake | ~300°F | 5-10 Hours | Remove free water | |
| High Bake | ~500°F | 5-10 Hours | Chemically dry |
A thoroughly dried mold ensures a defect-free, safe casting process.
How Is the Metal Poured and Cooled?
Molten metal is poured into the pre-heated plaster mold, often using gravity or low-pressure assistance to ensure it fills thin sections completely. The insulating properties of the plaster keep the metal molten for longer, allowing it to flow into intricate areas that would freeze prematurely in a metal die.
Gravity vs Pressure
It gets better: You have options on how to introduce the metal.
- Gravity Pour: Standard method, relies on riser weight.
- Vacuum Assist: Pulls metal into the mold, great for thin walls.
- Pressure Cast: Pushes metal in, reducing porosity.
Cooling Rates
Why does this matter? Plaster is an insulator, not a conductor.
- Slow Cooling: Metal stays liquid longer, filling details better.
- Grain Structure: Slower cooling can lead to larger grain size.
- Chills: Metal inserts (chills) can be added to critical areas to speed cooling.
Key Takeaway
The pouring stage leverages the thermal properties of plaster to achieve complex geometries.
| Method | Best For | Cost | |
|---|---|---|---|
| Gravity | General Parts | Low | |
| Vacuum | Thin Walls | Medium | |
| Pressure | High Density | High |
Controlling the pour ensures the metal reaches every corner of the mold before solidifying.
What Happens During Shakeout and Finishing?
After the metal has solidified and cooled, the plaster mold is mechanically broken away from the casting, a process known as shakeout. Because the mold is destroyed, the part is revealed and sent for final cleaning, where gates and risers are removed to prepare the item for our products inventory.
Removing the Plaster
Here’s the reality: The mold is single-use and must be destroyed.
- Mechanical Breakout: Hammers or vibration tables break the bulk plaster.
- Water Blast: High-pressure water cleans remaining plaster from crevices.
- Recycling: The waste plaster is typically not recyclable for new molds.
Secondary Operations
Ready for the good part? The part emerges looking nearly finished.
- Gate Removal: Cutting off the feed points.
- Sandblasting: slight texture adjustment if needed.
- Machining: Minimal machining required due to high precision.
Key Takeaway
Shakeout reveals a near-net-shape part requiring minimal post-processing.
| Step | Action | Tooling | |
|---|---|---|---|
| Breakout | Remove bulk mold | Hammer/Vibration | |
| Wash | Clean fine details | Water Jet | |
| Cut-off | Remove gates | Band Saw |
The ease of finishing is a major cost-saver in the plaster casting workflow.
Which Metals Suit Plaster Casting?
Plaster casting is strictly limited to non-ferrous metals such as aluminum, zinc, magnesium, and copper-based alloys. Ferrous metals like steel and iron have melting points that are too high for the gypsum mold, causing the sulfur in the plaster to react and destroy the casting.
Aluminum Alloys
You might be surprised: Aluminum is the primary workhorse of this process.
- A356: Excellent strength and pressure tightness.
- 319: Good for general purpose fittings.
- Benefits: Lightweight, corrosion-resistant, and casts well.
Zinc and Copper
But wait, there’s more: Heavier alloys offer different properties.
- Yellow Brass: Great for decorative or marine fittings.
- Manganese Bronze: High strength for structural brackets.
- Zinc: Casts with incredible detail and thin walls.
Key Takeaway
Material selection is dictated by the thermal limits of the gypsum mold.
| Material | Melting Point | Suitability | |
|---|---|---|---|
| Aluminum | ~1220°F | Excellent | |
| Magnesium | ~1200°F | Good (requires inhibitors) | |
| Brass/Bronze | ~1700°F | Fair (special plaster needed) | |
| Steel | ~2500°F | Not Suitable |
Choosing the right alloy ensures the part meets mechanical requirements without failing the mold.
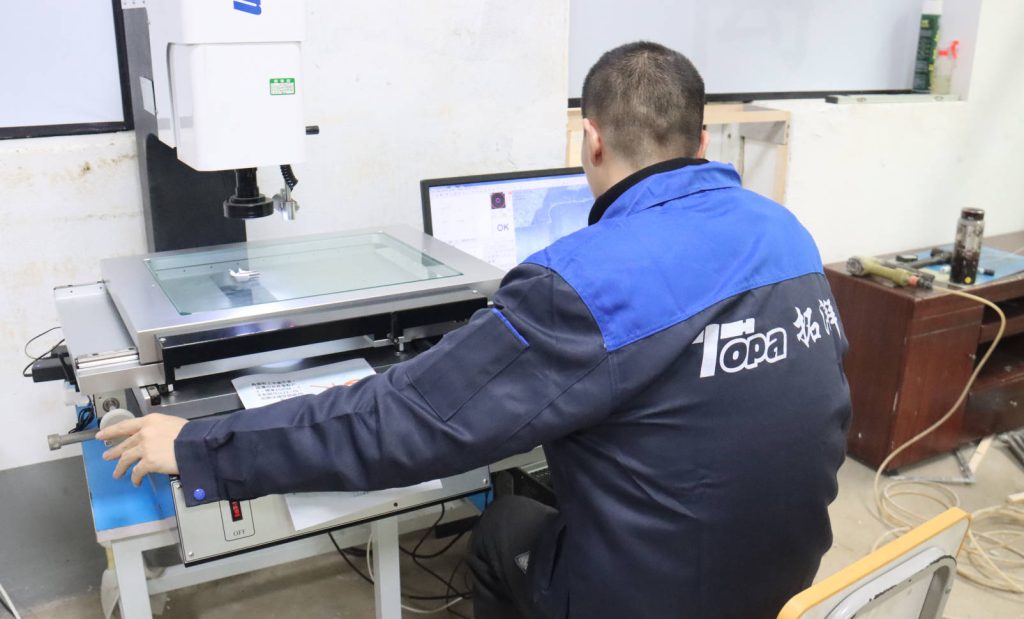
How Precise Is a Plaster Cast Part?
Plaster casting is renowned for its ability to hold tight tolerances, often achieving ±0.005 inches for the first inch, which significantly reduces the need for expensive machining. For engineering teams needing validation, our technical support can provide specific tolerance data based on your geometry.
Dimensional Accuracy
Here’s the deal: The mold is stable and accurate.
- Expansion: Plaster expands slightly, counteracting metal shrinkage.
- Repeatability: Molds are consistent from pattern to pattern.
- Flatness: Excellent flatness over large surface areas.
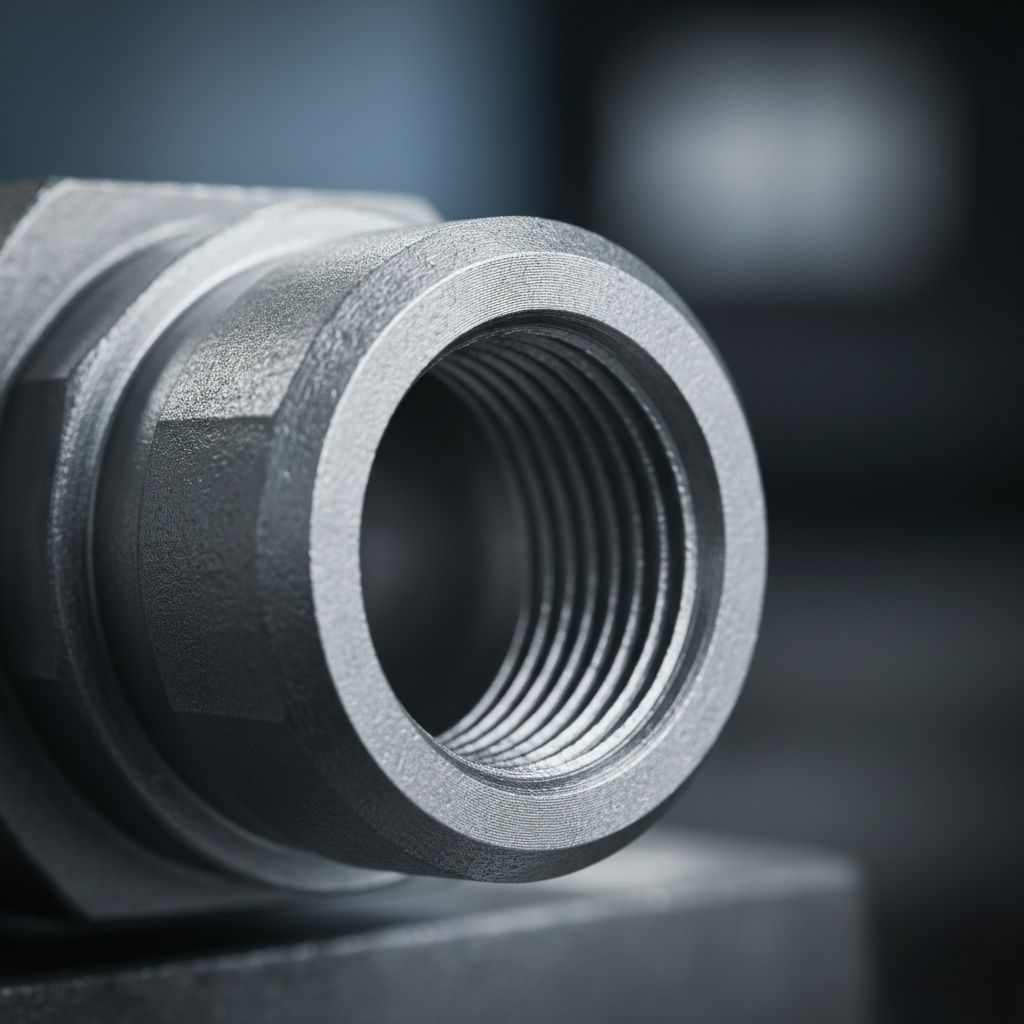
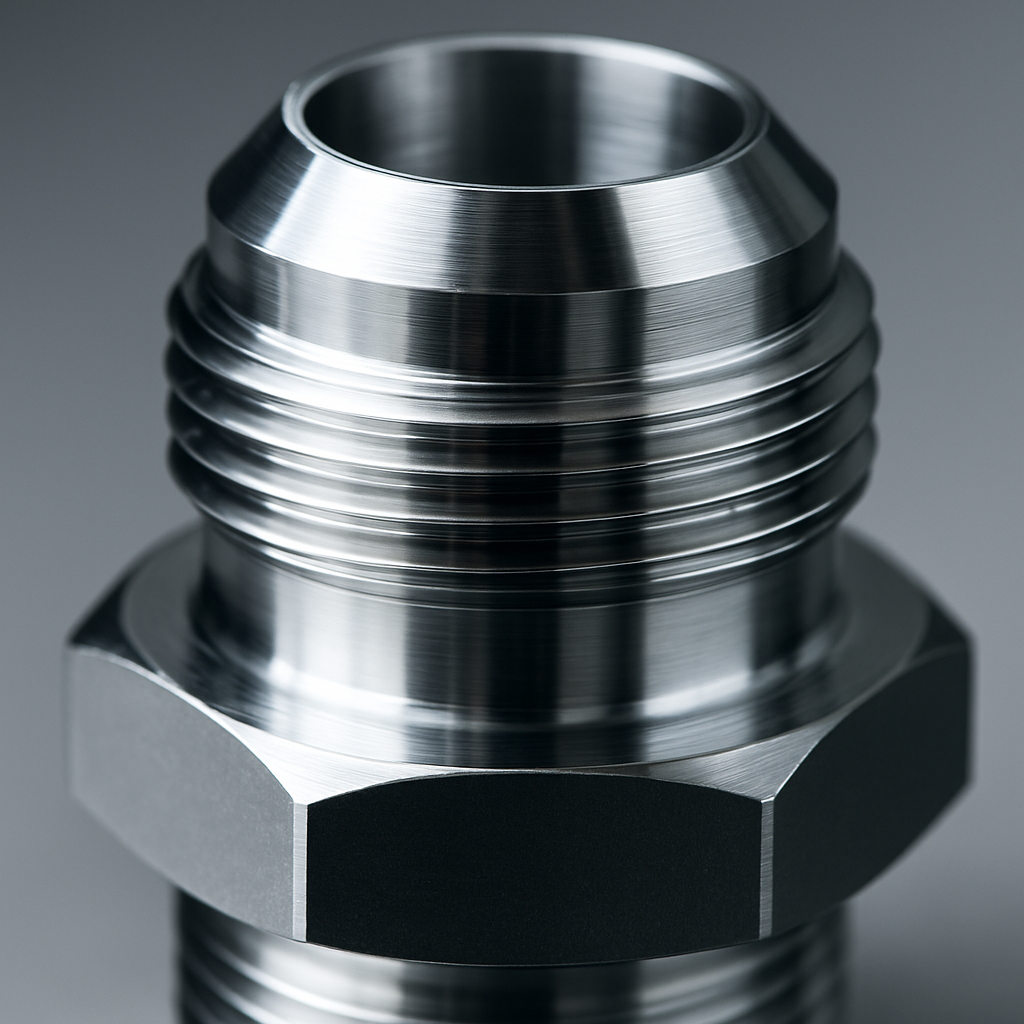
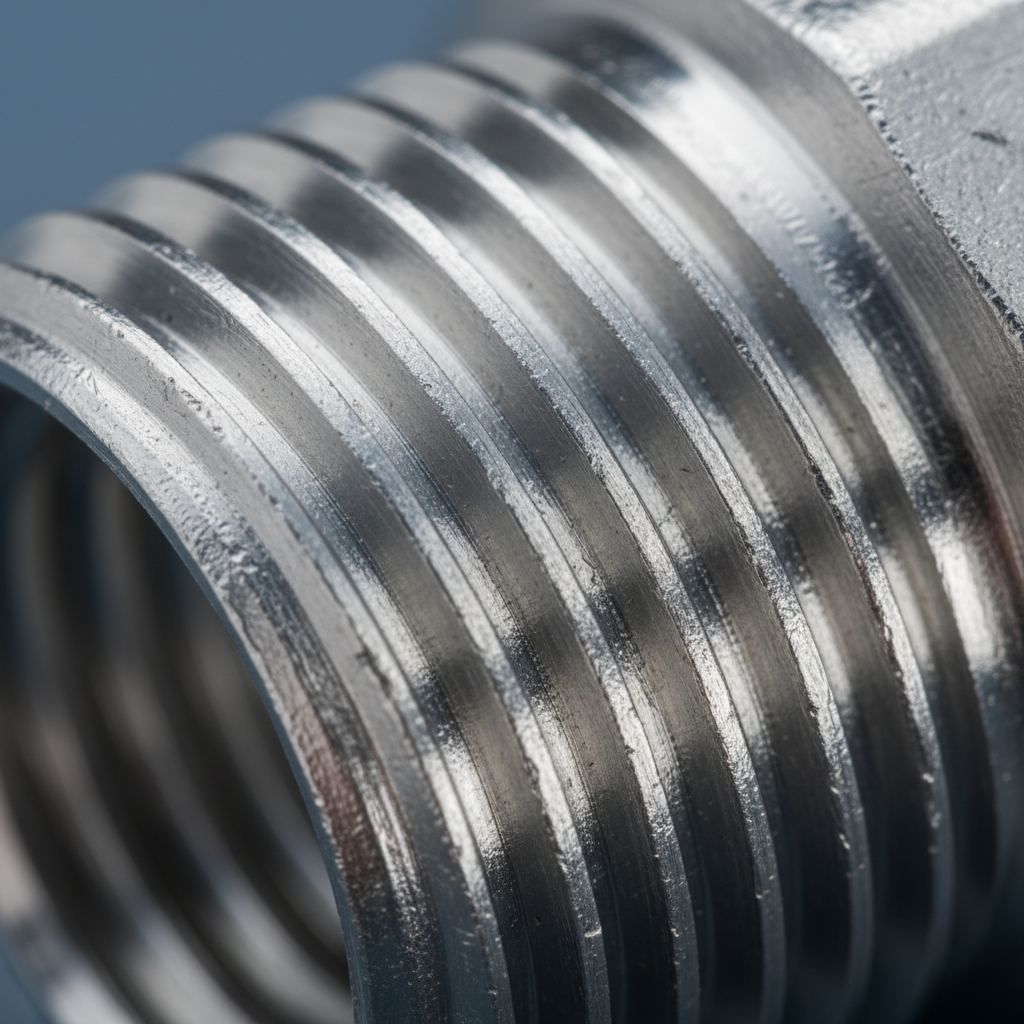
Surface Finish Quality
This is huge: The surface looks professional right out of the mold.
- Smoothness: 32 to 125 RMS is standard.
- Detail: Can reproduce logos and part numbers clearly.
- Threads: Coarse threads can sometimes be cast directly.
Key Takeaway
Precision reduces downstream costs and assembly issues.
| Dimension | Standard Tolerance | |
|---|---|---|
| 0-1 Inch | ± 0.005″ | |
| Add. Inch | ± 0.002″ | |
| Parting Line | ± 0.010″ | |
| Flatness | 0.005″ per inch |
High fidelity means your prototype functions exactly like a production part.
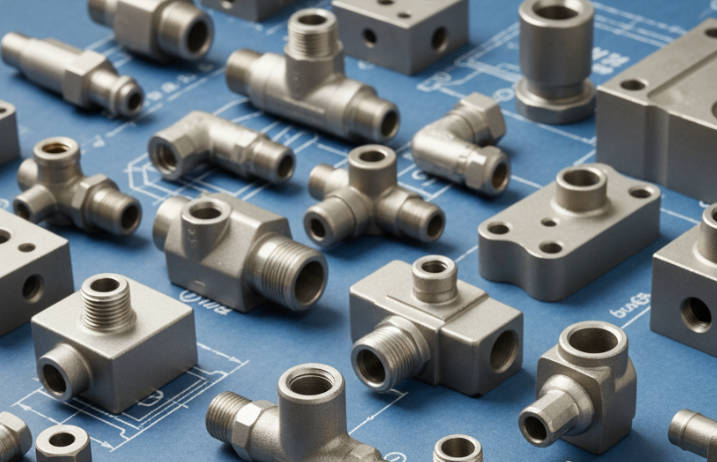
What Are the Applications for Hydraulic Fittings?
This process is extensively used for manufacturing hydraulic connection components, manifolds, and valve bodies where complex internal channels and smooth flow paths are required. It allows engineers to test the fluid dynamics of a design before investing in the high-volume steel dies used for mass production.
Prototyping
Let’s look at the numbers: It allows for cheap iteration.
- Functionality: Parts can be pressure tested.
- Fit Check: Verify assembly with hoses and ports.
- Marketing: Create photo-ready parts for sales materials.
Short Run Production
Don’t forget this: It is not just for prototypes.
- Bridge Tooling: Fills supply gaps while waiting for die cast tools.
- Specialty Parts: Economical for 50-500 custom fittings.
- Legacy Parts: Reproducing obsolete components without new dies.
Key Takeaway
Plaster casting serves both the design phase and low-volume market needs.
| Application | Benefit | |
|---|---|---|
| Manifolds | Smooth internal passages for fluid flow. | |
| Valves | Complex geometries without machining. | |
| Housings | Lightweight with thin walls. |
It provides a flexible manufacturing route for specialized industrial components.
How Does Plaster Compare to Other Methods?
When evaluating manufacturing options, plaster casting sits comfortably between the low cost of sand casting and the high precision of investment casting. For a deeper dive into manufacturing comparisons, visit our blog where we break down various industry standards and techniques.
Cost Analysis
What’s the bottom line? It balances tooling and piece price.
- vs. Die Casting: Tooling is 90% cheaper, but piece price is higher.
- vs. Sand Casting: Tooling is similar, piece price is higher, but finish is far better.
- vs. Investment: Plaster is generally cheaper and faster for larger parts.
Speed and Quality
Here is the trade-off: You pay for the finish.
- Lead Time: 2-4 weeks (faster than die cast, slower than 3D printing).
- Quality: Superior to sand, equal to die cast.
- Strength: Slightly lower than permanent mold due to slow cooling.
Key Takeaway
Choose plaster casting when you need die-cast quality without the die-cast quantity.
| Method | Tooling Cost | Piece Cost | Surface Finish | |
|---|---|---|---|---|
| Plaster | $$ | $$ | Excellent | |
| Sand | $ | $ | Rough | |
| Die Cast | $$$$ | $ | Excellent | |
| Investment | $$$ | $$$ | Excellent |
It is the smart choice for mid-range volume and high-precision requirements.
Conclusion
Plaster casting is a versatile and cost-effective manufacturing method that enables the production of high-quality, complex metal parts like hydraulic fittings. By offering superior surface finishes and tight tolerances without the heavy investment of permanent tooling, it empowers manufacturers to innovate faster and manage low-volume production efficiently. If you are looking for precision components or need advice on your next project, contact us today to see how we can support your engineering goals.
FAQ
Q1: Can plaster casting be used for steel hydraulic fittings?No, plaster casting is not suitable for steel or iron. The high melting temperature of ferrous metals destroys the gypsum mold. It is strictly used for non-ferrous metals like aluminum, zinc, and brass.
Q2: What is the typical lead time for a plaster cast project?The standard lead time is typically 2 to 4 weeks from pattern creation to finished part. This is significantly faster than the 8 to 12 weeks often required for manufacturing hard tooling for die casting.
Q3: Is plaster casting expensive compared to sand casting?The unit cost for plaster casting is generally higher than sand casting because the process takes longer and materials are more expensive. However, you save significantly on machining costs because the surface finish and tolerances are much better.
Q4: How many parts can I make with one plaster mold?Plaster molds are single-use, meaning the mold is destroyed to remove the part. However, the master pattern used to create the mold can be reused hundreds or thousands of times to make new molds.
Q5: Can you cast internal threads with this process?Yes, coarse threads can sometimes be cast directly into the part. However, for high-precision hydraulic fittings, it is usually recommended to cast the feature solid or with a pilot hole and machine the fine threads afterward to ensure a perfect seal.